The Secrets of Concert Photography
The title of this article is a little misleading, because there really is no secret. The question people often ask is, “How do you get into concert photography?” In truth, it’s pretty simple. You ask, OK, there’s a little more to it than that, but it really comes down to two things: 1) Knowing who to ask, and, 2) proving your worth.
The first part is fairly simple, many bands have management and publicist information available on their websites, or Facebook pages. But, photo passes aren’t given out to just anyone (yes, some bands are a little more liberal with them than others), you need to be doing photography for an outlet (web, or print), which takes us to the second, and most important, part of this equation. Proving your worth.
Now, when I say, “proving your worth,” I don’t just mean that you’re shooting for a publication (though that is a very large part of it), but you have to have quality work to back it up. There are many highly skilled photographers, who aren’t working for any publications, and there are less skilled photographers who photograph shows. But that dichotomy exists in all endeavors. Above all else deliver. If your work goes up, even if it doesn’t live up to all of your standards, put it out there, and let the band’s management know where it is. It’s good relations.
Here, I will be explaining what I believe to be some of the cornerstones that really makes great concert photos. If you haven’t already familiarized yourself with the exposure triangle, I suggest you read my article The Fundamentals of Photography, as I will be building on the items I explained in there.
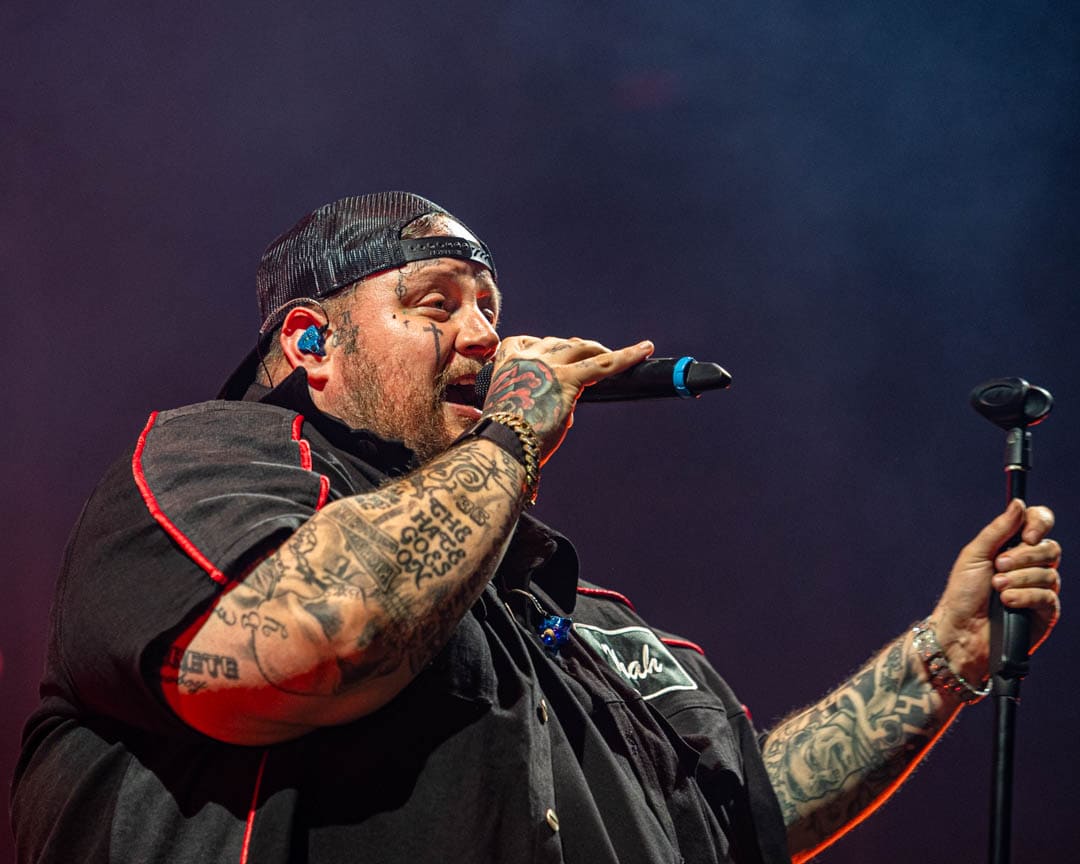
As mentioned earlier, photography is all about light, this holds true with concert photography as well. Don’t be fooled by the light show that so often accompanies concerts, concert photography is low light photography. I’ll say it again: Concert photography is low light photography. When photographing concerts, you’ll be pushing your camera gear to its limits while trying to capture that killer shot, while sharing a 20’x5′ pit with up to 20 other photographers with the same goal, within 3 songs. Fun, right?
The Lenses
There are some people who feel that prime (fixed-focal length) lenses are the best choice for concert photography; personally, I like zoom lenses. With a zoom lens, you’re given more latitude with your shots, and have better composition options. More important than the zoom, though, the lenses have to be FAST. You want to use lenses that go as wide as 2.8 (even wider is better, if your image quality doesn’t suffer).
Being able to let as much light as you can into your camera, from your lens, is important. But just because you can shoot at 2.8, doesn’t necessarily mean that you should. When you photograph at that wide of an aperture, you’re left with a very narrow depth of field, and with the chaos that is a concert, you can easily miss your focus. Imagine focusing in on the lead singer, only to have him move his head slightly; you’re left with a blur. Now, if you were at a wider aperture, say at 3.2, or 3.5, a shift from the eyes, to the nose, will still work well. When I get to a show, I dial in to 3.5 (if band members group together center stage, I’ll bump up to 4.0, just to make sure I get everyone in focus), but 3.2 – 3.5 is about where you would want to be.
I mentioned zoom lenses, and the two that I use most often are 24-70 2.8, and 70-200 2.8. In the pit, these will give you just about all the coverage you need (barring the super wide shots you can get with a 14-25 2.8, or a fisheye). With these lenses, you should be able to get full body shots of the lead singer (when he’s right in front of you), and head shots of the drummer. Of course, unless you’re carrying two camera bodies, you’ll need to swap lenses in the pit. But, we’ll cover etiquette at a separate time.
Camera Settings
The other two legs to cover now are shutter speed, and ISO.
I know, from experience, that if I want to freeze any hair flips, without blur, the slowest I can have my camera at is 1/400 on the shutter; generally, I don’t like to go below 1/320. If lighting is really bad, I’ll drop to 1/250, but at that speed, you’ll start to get some blur in hand motions (even small ones), examples of this can be seen in my photos of Xandria, Delain, and Sonata Arctica.
Bands, especially rock bands, like to move around a lot on stage, and if your shutter is too slow, you won’t freeze the action. Now, sometimes it’s nice to have a little bit of a blur in an image (a guitarist wailing on a solo), or a drummer coming down hard on his kit. These are artistic choices, though, but just be aware of what’s happening on stage, and with the lighting, to gauge where you need to be.
ISO is the last element, and is, honestly, the easiest, and most important one in concert photography. Once I know where I want to be with my aperture, and shutter, I can pretty much stay there and adjust my ISO up, and down, to get in light as needed.
I’m sure you’ve read many articles that talk about the evils of ISO. Maybe you’ve even seen charts that show how degraded colors become at high ISOs, or how grainy images get. Yes, higher ISOs will produce more noise, BUT, if your exposure is correct to begin with, then it won’t be as much of an issue. Since I lock in my other settings, I only need to pay attention to the lights, and adjust my ISO accordingly. I will say that I don’t usually go lower than 2,000 ISO at concerts, and even in fantastic lighting like Steel Panther has, I’d have to shoot between 4,000 and 6,400 ISO just to get a proper exposure in camera (with my settings at 3.2, and 1/400, as mentioned earlier).
There are other shows where I’ve shot at 51,200 and, yes, there is very visible noise there; however, the images are still sharp, they’ve retained bright, vibrant color, and they capture the mood of the show (I hope). Noise reduction isn’t necessary, and only makes the photos look overly smooth, and flat.